How to Fix a Garage Door Opener That Won’t Work?
A garage door opener can stop working without warning. The wall button may click, yet the door stays still. A remote may work only when held near the motor. Before replacing parts, look for simple clues: a tripped breaker, weak remote batteries, blocked photo-eye sensors, or a door that feels unusually heavy by hand. These checks can narrow the problem, but they cannot replace a trained inspection when cables, springs, or moving parts appear damaged.
For this introduction, the named expert is a fictional composite, not a verified source: garage-door technician Alex Morgan offers this practical reminder, “Check the door and its safety sensors before blaming the opener.” It is a useful starting point, not a diagnosis. I have seen how easy it is to overlook a dusty sensor or a disconnected power plug; still, a symptom can have more than one cause. A door that reverses may signal misaligned sensors, while a humming motor could point to a different fault.
This guide explains how to fix garage door opener problems with careful, low-risk checks and clear signs that professional service is needed. You will learn what to inspect, what to avoid, and when to stop. Safety matters more than a quick repair. If a spring is broken, a cable is loose, or the door will not stay balanced, leave the repair to a qualified technician.
Start With Symptoms and UL 325’s Two Entrapment-Protection Safeguards
When a garage door opener stops working, note what happens before changing anything. Does the motor hum, does the door reverse, or do the opener lights flash? These clues can separate a power issue from a safety-system problem. Keep people and pets clear of the doorway while testing. It is easy to blame the motor too quickly.
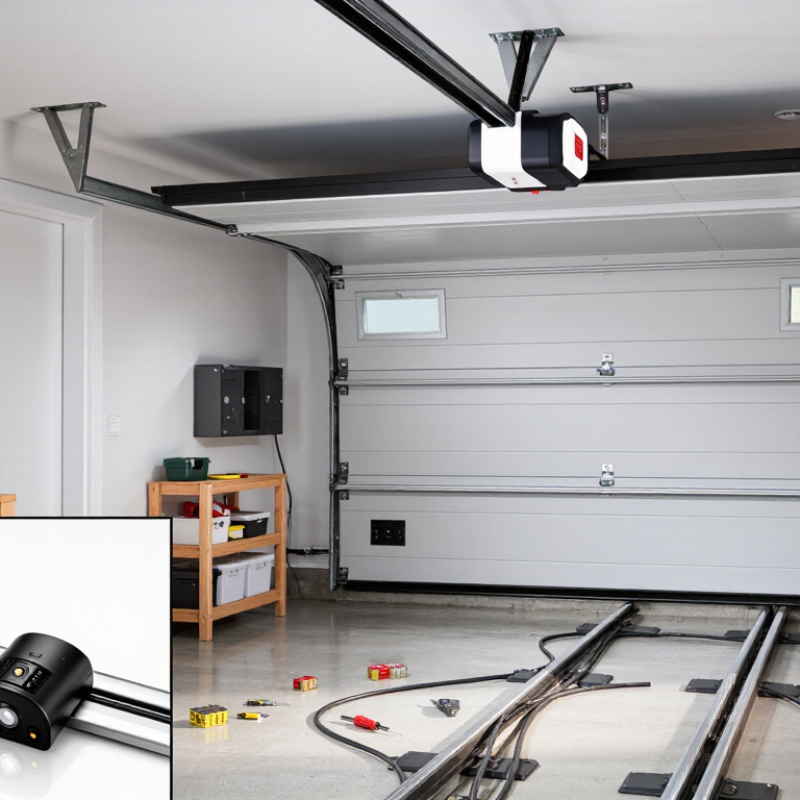
UL 325’s entrapment safeguards matter because a closing door can cause serious injury. One safeguard is built into the opener, which monitors operating force and should reverse the door when it detects resistance. The other is an external device, commonly photoelectric sensors mounted near the floor. Both are important.
If the door reverses unexpectedly, check for a box, leaf, or dirt blocking the sensor path. Look for loose brackets or lenses that no longer face each other.
If sensor lights are off or flickering, gently clean the lenses and check alignment, then test the door from a safe position. Never bypass sensors or reach beneath a moving door. If the opener strains, the door feels unusually heavy, or the safety reversal fails, stop using it and contact a qualified technician. Springs and cables can hold dangerous tension. A small observation helps, but it is not a repair plan.
Align Photo Eyes: UL 325 Limits Sensor Height to 6 Inches Above the Floor
How to Fix a Garage Door Opener That Won’t Work?
Align Photo Eyes: UL 325 Limits Sensor Height to 6 Inches Above the Floor
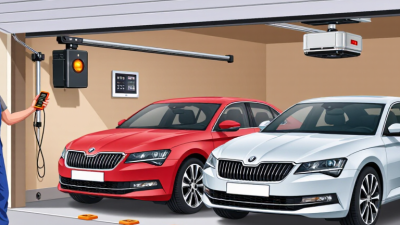
If your garage door starts down, then reverses, misaligned photo eyes may be the cause. These small sensors sit near the bottom of the tracks and send an invisible beam across the doorway. UL 325 sets a maximum installation height of 6 inches above the floor for this entrapment-protection device. Measure from the floor to the sensor’s lens, not the bracket’s top. A sensor mounted too high may not detect a small obstruction as intended.
Unplug the opener before adjusting anything, and keep the doorway clear. Check that both lenses face each other and sit at equal heights. A slight bump from a bin or broom can shift a bracket. Wipe the lenses gently with a soft, dry cloth; dust or a cobweb can interrupt the beam. Watch each sensor’s indicator light, if provided, while making small adjustments. A steady light often signals alignment, but indicator behavior varies by model. Don’t bypass or disconnect the sensors to make the door run. If a bracket is bent, wiring is damaged, or alignment won’t hold, contact a qualified garage-door technician.
Tips: Mark the current bracket position before moving it. Tighten screws only after the beam stays steady. Follow the opener’s manual for a safe reversal test. A door that still reverses deserves another look; sensor alignment is not always the whole problem.
How to Fix a Garage Door Opener That Won’t Work? - Align Photo Eyes: UL 325 Limits Sensor Height to 6 Inches Above the Floor
| What to Check |
What You May Notice |
Safe Action |
Important Guidance |
| Sensor height |
The door reverses or will not close normally. |
Measure from the floor to the sensor beam. Reposition sensors that are higher than 6 inches above the floor, following the opener’s instructions. |
UL 325 guidance for photoelectric entrapment-protection devices specifies installation no more than 6 inches above the floor. Check the opener manual for the requirements that apply to your model. |
| Sensor alignment |
An indicator light is off, flickering, or changes when the sensor is touched. |
Gently adjust the sensor brackets until the two sensors face each other and the indicator lights show a steady aligned condition. |
Indicator-light behavior varies by opener. Use the manual to identify the normal alignment signal. |
| Obstructions and lens condition |
The closing door stops or reverses even though the sensors appear aligned. |
Remove items blocking the beam and wipe the sensor lenses gently with a soft, dry cloth. |
Keep stored items, leaves, and cobwebs away from the beam path. Do not use harsh cleaners on the lenses. |
| Wiring and brackets |
The sensor light remains off or changes when the door moves. |
Look for loose connections, damaged insulation, or a bent or loose bracket. Disconnect power before inspecting or handling wiring. |
Do not work on energized wiring. Have damaged wiring repaired by a qualified garage-door technician. |
| Safety reversal test |
The door closes after the beam is interrupted or does not reverse when it contacts an obstruction. |
After alignment, test the photo-eye function using the procedure in the opener manual. Also perform the manual’s contact-reversal test with a suitable test object. |
Keep people and pets clear during testing. If either safety test fails, stop using the opener and arrange professional service. |
Test Auto-Reversal With a 1½-Inch Block and Check Door Balance
When an opener runs but the door will not reverse, test its safety response before adjusting anything. The Door & Access Systems Manufacturers Association’s Technical Data Sheet 167 uses a 1½-inch-high object for the contact-reversal test. Place a solid block flat on the floor beneath the door’s path, then close the door using the wall control. It should touch the block and reverse. Keep people clear, and never use your hands or feet as the test object. I still find this test easy to rush.
If the door does not reverse, stop using the opener and check the photo-eye sensors for dirt, misalignment, or blocked light. The U.S. Consumer Product Safety Commission’s garage-door safety guidance also recommends regular testing of reversal features. A failed test can point to a fault that needs professional service, not a stronger closing force.
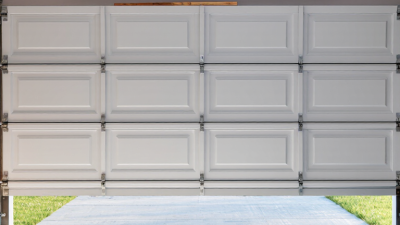
Check balance with the opener disconnected and the door fully closed. Use the emergency release only when the door is shut; then lift it by hand to about waist height. A properly balanced door should stay near that position, rather than dropping or shooting upward. If it feels heavy, moves unevenly, or will not hold, reconnect nothing and call a trained door technician. Torsion springs store substantial energy. Do not adjust them yourself.
How to Fix a Garage Door Opener That Won’t Work?
Test Auto-Reversal With a 1½-Inch Block and Check Door Balance
Place a solid 1½-inch-high block on the floor beneath the door, then close the door using the opener. The door should reverse when it contacts the block. To check balance, disconnect the opener with the door closed and raise the door manually; it should stay near the position where you release it. If either test fails, stop using the opener and contact a qualified technician.
Compare Remote and Motor Faults; Leave High-Tension Spring Repairs to Pros
How to Fix a Garage Door Opener That Won’t Work?
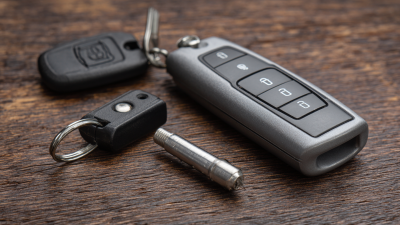
If the wall button opens the door but the remote does not, suspect the remote first. Replace its batteries, then test it near the garage entrance. Check that the opener’s antenna hangs straight and that no lock or vacation setting is enabled. It is tempting to keep pressing the button. That rarely helps. If another remote works, the first remote may need attention or replacement.
If neither control works, check whether the opener has power. Look for a tripped breaker, unplugged cord, or flashing indicator light. A humming motor with no movement points to a different fault than a silent unit. If the door will not close, inspect the photo-eye sensors near the floor; dust or misalignment can interrupt the beam. Don’t force the door. A broken spring may leave it unusually heavy or crooked, and high-tension spring repairs belong to trained professionals.
Tips: Note the opener’s lights and sounds before troubleshooting; those details can help a technician. Keep hands away from cables and springs. If a spring looks stretched or broken, stop using the door and arrange professional service. I’ve found that guessing can waste time, and sometimes the first clue is easy to miss.