Professional Tile Cutter Tips for Perfect Tile Installation?
When it comes to tile installation, using a Professional Tile Cutter is crucial for achieving flawless results. According to industry reports, over 70% of tiling failures stem from improper cuts. A precise cut ensures tiles fit seamlessly, enhancing both aesthetics and durability. Professionals emphasize the importance of using quality tools and understanding their functions. This makes a significant difference in the installation process.
Moreover, experts recommend taking the time to measure and plan cuts accurately. Many installers rush, leading to wasted materials and time. An estimated 20% of project budgets can go to correcting mistakes caused by poor cutting techniques. Utilizing a professional tile cutter not only minimizes errors but also improves efficiency. Attention to detail during this phase can set a project apart.
However, even with the best equipment, mastery doesn’t happen overnight. Continuous practice and learning are essential. No one is perfect, and even seasoned professionals must adapt to new materials and techniques regularly. Embracing this mindset can lead to enhanced skills and ultimately, better results in tile installation.
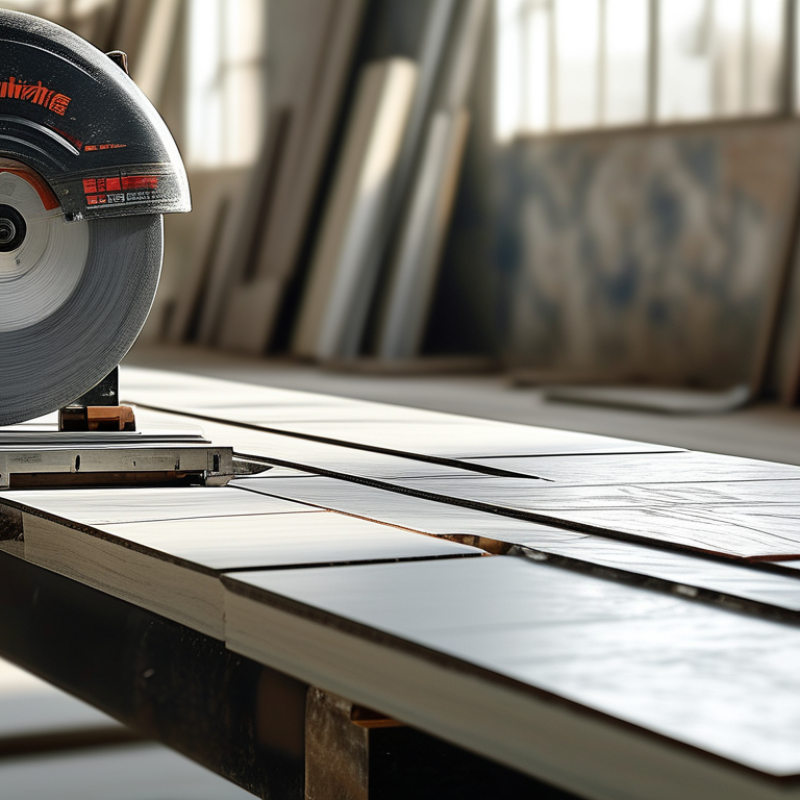
Essential Tools for Professional Tile Cutting
When it comes to professional tile installation, having the right tools can make all the difference. According to recent industry reports, almost 70% of tile installation issues stem from improper cutting techniques or inadequate tools. Essential tools for professional tile cutting include a high-quality tile cutter, a wet saw, and a tile nipper. Each tool serves its unique purpose and can greatly impact the precision of your cuts.
A tile cutter is ideal for straight cuts. Look for one with a sturdy base and a sharp scoring wheel. Wet saws are essential for intricate shapes and large quantities of tile. They provide smooth cuts and minimize chipping, thus increasing your efficiency. Moreover, a tile nipper is handy for making small adjustments. It allows for fine-tuning when fitting tiles around corners or edges.
Here are some tips to enhance your cutting method: always measure twice before cutting. Even a slight error can lead to wasted materials. It’s also wise to practice on scrap tiles before the main installation. This helps in mastering your tools' nuances. Finally, keep your tools well-maintained. Regular checks on blade sharpness can elevate your cutting precision, which leads to a flawless tile layout.
Preparing Your Workspace for Optimal Tile Installation
Preparing your workspace for tile installation is crucial. A well-organized area can significantly enhance efficiency and precision. According to the Tile Council of North America, proper preparation can reduce installation time by up to 20%. Start by clearing the space completely. Remove furniture and old flooring. This step not only creates a safer environment but also gives you a clear view of the work area.
Next, ensure your subfloor is clean and level. A report from the National Tile Contractors Association highlights that uneven substrates can lead to tile cracking or shifting. Use a level to identify any imperfections. If necessary, consider self-leveling compounds for a robust surface. These products, while sometimes perceived as an extra cost, are vital for long-term durability and performance.
Lighting plays an important role, too. Good visibility can make all the difference during installation. Natural light is ideal, but additional artificial lights can help. Take a moment to assess your tools. A clean and readily available toolkit, including cutting tools and spacers, is essential. An organized workspace fosters efficiency, yet, it’s easy to overlook these details amid the excitement of starting a project. Remember, the prep work sets a solid foundation for success, and overlooking it can lead to frustration later on.
Step-by-Step Guide to Measuring and Cutting Tiles
Measuring and cutting tiles accurately is essential for a successful installation. Start by gathering the necessary tools: a tape measure, a straightedge, and a tile cutter. Measure your space carefully. Always double-check your dimensions before cutting. Lay the tiles out dry to visualize the overall design. This step helps identify any adjustments needed.
When cutting tiles, ensure you mark the cutting line clearly. Use a pencil for better visibility. Apply even pressure while using the tile cutter. Many users struggle with uneven cuts, which can ruin the overall appearance. It also helps to practice on a scrap piece first. This reduces mistakes and builds confidence.
Tips can enhance your cutting process. Use a wet saw for larger tiles to avoid chipping. For small cuts, a snap cutter is effective. If you find your tiles are frequently misaligned, re-evaluate your measurements. Sometimes, a small error can lead to larger issues down the line. Remember, patience and precision are key.
Techniques for Achieving Straight and Precise Cuts
Achieving straight and precise cuts in tile installation requires skill and the right techniques. Start by measuring your tiles accurately. A small error can lead to uneven edges or misaligned patterns. Use a quality square and a pencil to mark your cutting lines clearly. This simple step prevents costly mistakes later on.
When using a tile cutter, apply steady pressure. Uneven force can lead to chipping. For curved or intricate cuts, a wet saw is ideal. The water minimizes friction, allowing for smoother cuts. Also, it’s vital to keep the blade sharp. A dull blade can tear tiles, creating jagged edges.
Remember, practice is essential. Your first few cuts may not be perfect. Reflect on what went wrong. Was it the pressure, the alignment, or the tool itself? Learning from these experiences can elevate your technique over time. Keeping a keen eye on your work will help you achieve a flawless finish.
Common Mistakes to Avoid During Tile Installation
Tile installation requires precision and attention to detail. A common mistake DIYers make is not preparing the surface properly. If the subfloor is uneven, the tiles may crack or shift over time. Ensure the surface is level and clean before beginning. Use a leveling compound if needed. A solid foundation is essential for a lasting finish.
Another frequent error is miscalculating the amount of tile needed. Overestimating may lead to unnecessary expenses, while underestimating can halt a project mid-way. Always measure your space accurately and allow for extra tiles to account for cuts and breakages. Cuts should be made systematically to ensure a seamless look.
Finally, grout application can be tricky. Many people rush this step, leading to unsightly gaps. Grout should fill all spaces evenly, and excess should be cleaned off promptly. Allow it to cure according to the manufacturer’s instructions. Taking the time to get these details right will prevent headaches later on.
Common Mistakes to Avoid During Tile Installation